Proper car seat installation is crucial for your child's safety. According to the National Highway Traffic Safety Administration, car crashes are a leading cause of death for children ages 1 to 13, and correctly installed car seats can reduce fatal injury by up to 71%. Yet studies show that nearly 46% of car seats and booster seats are installed incorrectly. This comprehensive guide will walk you through how to check car seat installation to ensure your little one stays safe on every journey.
Why Proper Car Seat Installation Matters
A correctly installed car seat provides optimal protection during a crash by distributing the force away from your child's vulnerable body parts. Even small installation errors can significantly reduce a car seat's effectiveness. Taking the time to verify your installation could literally save your child's life.
Before diving into the verification steps, gather your car seat instruction manual and your vehicle owner manual. These resources contain specific guidelines for your particular car seat model and vehicle that are essential for proper installation.
Did You Know?
According to Safe Kids Worldwide, correctly used car seats can reduce the risk of death by as much as 71% for infants and 54% for toddlers aged 1 to 4.
7 Critical Steps to Verify Your Car Seat Installation
Follow these seven essential steps to ensure your car seat is installed correctly. Take your time with each step and don't skip any—your child's safety depends on it.
Step 1: Verify the Correct Car Seat Position
Confirm you're using the right type of car seat for your child's age, weight, and height. Rear-facing seats are safest for young children, and experts recommend keeping children rear-facing until they reach the maximum height or weight limit for their seat. Check that you've placed the car seat in an appropriate vehicle seating position—never in front of an active airbag for rear-facing seats.
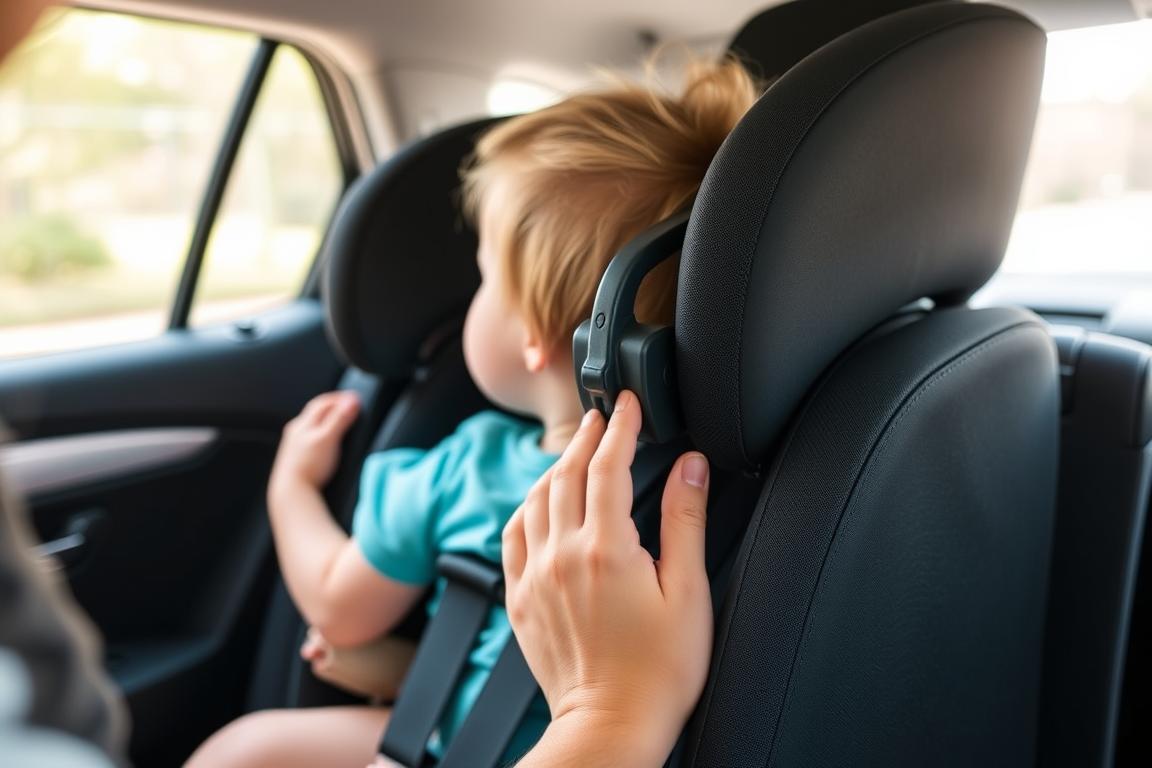
Step 2: Check the Installation Angle
For rear-facing seats, the correct recline angle is critical to keep your baby's airway open and provide optimal protection. Most car seats have built-in angle indicators or adjusters. Make sure the seat is reclined according to the manufacturer's guidelines for your child's age and size. For forward-facing seats, follow the manual's instructions for the proper upright position.
Step 3: Verify the Installation Method
Whether you're using the LATCH system (Lower Anchors and Tethers for Children) or the vehicle seat belt, make sure you're using only one method—never both simultaneously (unless specifically allowed by the manufacturer). Check that the connectors or belt path is correct according to your car seat manual.
- For LATCH: Ensure the anchors are fully engaged and the strap is tight with no slack.
- For seat belt: Verify the belt is threaded through the correct belt path and properly locked (either with the vehicle's locking mechanism or a locking clip if needed).
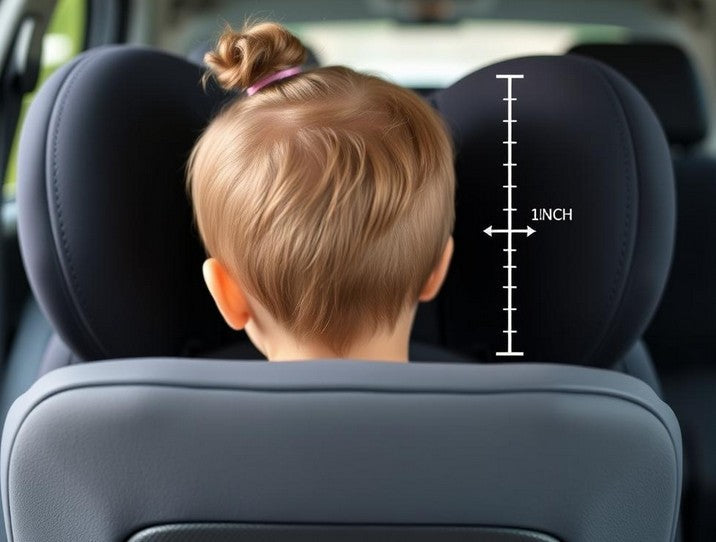
Step 4: Test for Tightness
A properly installed car seat should not move more than one inch side-to-side or front-to-back when pulled at the belt path. Grip the seat at the belt path (where the LATCH strap or vehicle seat belt passes through the car seat) and try to move it. If it moves more than an inch, it's too loose and needs to be tightened.
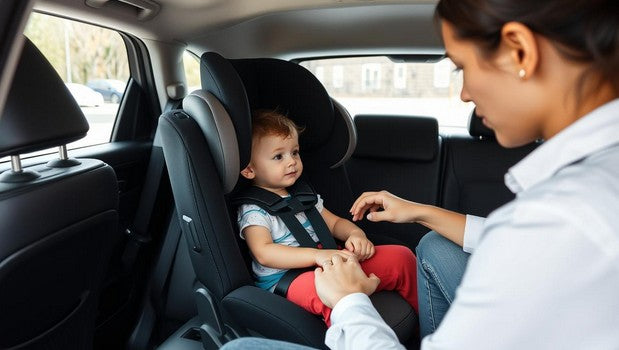
Step 5: Check the Harness Fit
While not directly related to installation, proper harness use is essential for safety. Verify that the harness straps are at the correct height (at or below shoulders for rear-facing, at or above shoulders for forward-facing). The chest clip should be positioned at armpit level, and the harness should be snug—you shouldn't be able to pinch excess webbing at the shoulder.
Step 6: Secure the Top Tether (Forward-Facing)
For forward-facing seats, the top tether is crucial yet often overlooked. It reduces forward head movement in a crash by up to 6-8 inches. Locate your vehicle's tether anchor (check your vehicle manual for the exact location) and ensure the tether strap is properly connected and tightened with no slack.
Step 7: Check for Incompatibilities
Verify that there are no incompatibilities between your car seat and vehicle. Some car seats don't fit well in certain vehicles due to seat contours, headrests, or seat belt configurations. Check that the car seat base sits flush with the vehicle seat and that at least 80% of the base is supported.
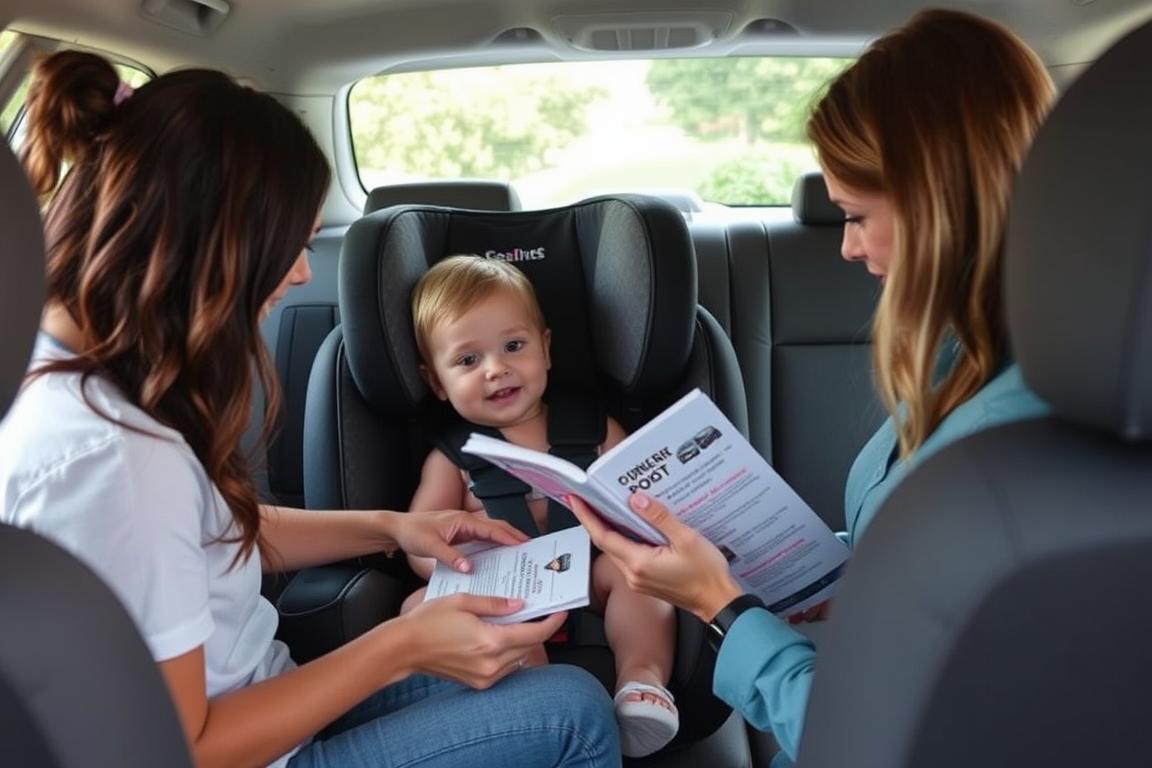
Need Expert Verification?
Even after self-checking, it's recommended to have your installation verified by a certified Child Passenger Safety Technician. They can catch issues you might miss and provide personalized guidance.
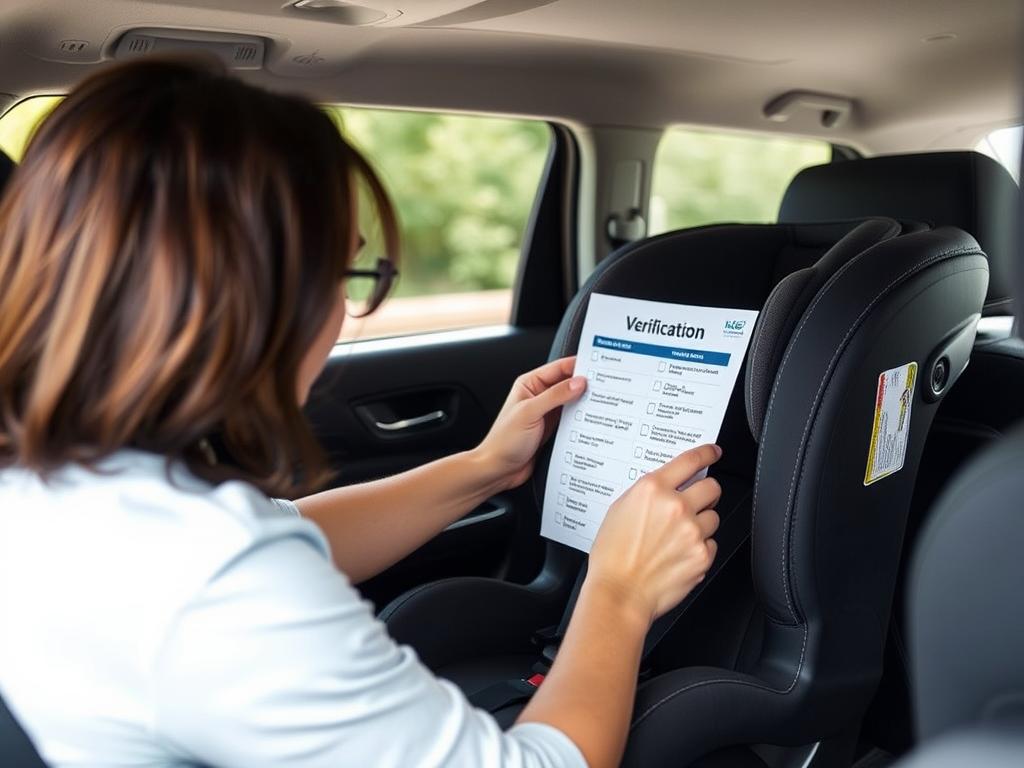
Complete Car Seat Installation Safety Checklist
Use this comprehensive checklist to verify your car seat installation. Print it out or save it to your phone for regular safety checks.
- ✅ The car seat is tightly secured with less than 1 inch of movement at the belt path.
- ✅ The car seat is installed in an appropriate seating position (not in front of an active airbag for rear-facing).
- ✅ The recline angle is correct for my child's age and size according to the manufacturer's guidelines.
- ✅ I'm using either LATCH or seat belt installation, not both (unless specifically allowed).
- ✅ If using LATCH, I've verified I haven't exceeded the weight limit (typically 65 lbs combined child + seat weight).
- ✅ If using a seat belt, it's locked and threaded through the correct belt path.
- ✅ For forward-facing seats, the top tether is connected and tightened.
- ✅ The harness straps are at the correct height (at/below shoulders for rear-facing, at/above for forward-facing).
- ✅ The chest clip is positioned at armpit level.
- ✅ The harness is snug with no excess webbing that can be pinched at the shoulders.
- ✅ There are no aftermarket products or accessories used with the car seat unless approved by the manufacturer.
- ✅ The car seat hasn't expired and hasn't been in a moderate to severe crash.
Keep This Checklist Handy
Download our printable car seat safety checklist to keep in your vehicle for regular safety checks.
Common Car Seat Installation Mistakes and How to Avoid Them
Even careful parents can make these common installation errors. Learn how to avoid them to keep your child safe.
Installation Too Loose
A car seat that moves more than one inch at the belt path isn't secure enough to protect your child in a crash.
Solution: Use your body weight to compress the car seat into the vehicle seat while tightening the LATCH strap or seat belt. Pull the strap in small increments from different angles to remove all slack.
Skipping the Top Tether
Many parents overlook the top tether for forward-facing seats, which significantly reduces head movement in a crash.
Solution: Always use the top tether with forward-facing seats. If you can't locate your vehicle's tether anchor, consult your vehicle manual or contact the manufacturer.
Incorrect Recline Angle
Improper recline can compromise breathing for infants or reduce protection in a crash.
Solution: Use the car seat's built-in angle indicator and adjust according to your child's age and size. For newborns, a more reclined position is typically needed.
Using Both LATCH and Seat Belt
Using both systems simultaneously can cause them to work against each other in a crash.
Solution: Choose either LATCH or seat belt installation based on what works best in your vehicle and your child's weight. Never use both unless specifically allowed by the manufacturer.
Incorrect Belt Path
Threading the seat belt or LATCH strap through the wrong path can cause installation failure in a crash.
Solution: Carefully follow your car seat manual to identify the correct belt path for your installation method and seat orientation (rear or forward-facing).
Adding Aftermarket Products
Strap covers, head supports, and other accessories not approved by the manufacturer can interfere with proper harness function.
Solution: Only use accessories that came with your car seat or are specifically approved by the manufacturer for use with your model.
Expert Tips for Different Car Seat Types
Each type of car seat has specific installation considerations. Follow these expert tips for your particular seat type.
Rear-Facing Infant Car Seats
- Check that the carry handle is in the correct position for in-vehicle use (this varies by manufacturer).
- For seats with a detachable base, verify the seat is fully clicked into the base—test by lifting up on the handle to ensure it's locked.
- Ensure the base is installed at the correct angle for your baby's age—newborns often need more recline to keep airways open.
- If using a seat without the base (common for travel), make sure you're routing the seat belt correctly according to the manual.
Convertible Car Seats (Rear-Facing)
- Check that you're using the correct recline position for rear-facing as indicated in your manual.
- Ensure the seat is installed so that the level indicator shows the correct angle for your child's age.
- Verify that the harness straps come from at or below your child's shoulders.
- If your seat has a rear-facing tether option (uncommon in the US but available on some seats), follow the manufacturer's instructions for proper use.
Forward-Facing Car Seats
- Always use the top tether—it reduces forward head movement by 4-6 inches in a crash.
- Ensure the seat is in the correct, more upright position specified for forward-facing use.
- Verify that the harness straps come from at or above your child's shoulders.
- If your child is approaching the weight limit for LATCH (typically 65 lbs combined child and seat weight), switch to seat belt installation.
Booster Seats
- Check that the vehicle seat belt properly fits your child—the lap belt should lie across the upper thighs, not the stomach.
- The shoulder belt should cross the center of the chest and shoulder, not the neck or face.
- For high-back boosters, ensure the shoulder belt guide positions the belt correctly across your child's chest.
- Some boosters can be secured with LATCH to keep them in place when unoccupied—check your manual to see if this is an option.
Register Your Car Seat
Don't forget to register your car seat with the manufacturer to receive important safety notices and recall information. Register Your Car Seat Now
Frequently Asked Questions About Car Seat Installation
What if my car doesn't have LATCH anchors?
If your vehicle doesn't have LATCH anchors (typically in vehicles manufactured before 2003), use the seat belt installation method. Follow your car seat manual's instructions for properly routing and locking the seat belt. The seat belt installation is equally safe when done correctly.
How do I know if my car seat is too old or expired?
Most car seats have an expiration date stamped on the manufacturer's label on the side or bottom of the seat. Typically, car seats expire 6-10 years from the date of manufacture. Using an expired seat is not recommended as materials can degrade over time.
Can I use a car seat that's been in a crash?
NHTSA recommends replacing a car seat after a moderate to severe crash. Some manufacturers recommend replacement after any crash, regardless of severity. Check your car seat manual for specific guidance from your manufacturer.
What should I do if my vehicle seats are contoured or have a hump in the middle?
Contoured vehicle seats can make installation challenging. Try using a tightly rolled towel or pool noodle to fill gaps and create a stable surface. However, only do this if approved in your car seat manual. If problems persist, consult a certified Child Passenger Safety Technician.
How often should I check my car seat installation?
Check your installation monthly, after long trips, after someone else has used your vehicle, or anytime the car seat seems loose or out of position. Regular checks help ensure continued protection.
Ensuring Your Child's Safety on Every Journey
Properly checking your car seat installation is one of the most important steps you can take to protect your child on the road. By following the verification steps and checklist in this guide, you're significantly improving your child's safety during travel.
Remember that even after self-checking, having your installation verified by a certified Child Passenger Safety Technician is highly recommended. These trained professionals can catch subtle issues you might miss and provide personalized guidance for your specific car seat and vehicle.

Double-Check Your Installation Today
Your child's safety is too important to leave to chance. Find a certified technician near you for a professional car seat check. Find a Car Seat Inspection Station
By taking the time to verify your car seat installation and making any necessary adjustments, you're providing your child with the best possible protection on every journey. Safe travels!
Leave a comment
This site is protected by hCaptcha and the hCaptcha Privacy Policy and Terms of Service apply.