Your car seats endure daily abuse from food spills, dirt, pet hair, and body oils. Over time, these contaminants can make your interior look worn and create unpleasant odors. Learning how to deep clean car seats properly not only improves your vehicle's appearance but also extends the life of your upholstery. In this comprehensive guide, we'll walk through professional techniques to restore your car seats to showroom condition, regardless of material type.
Essential Materials for Deep Cleaning Car Seats
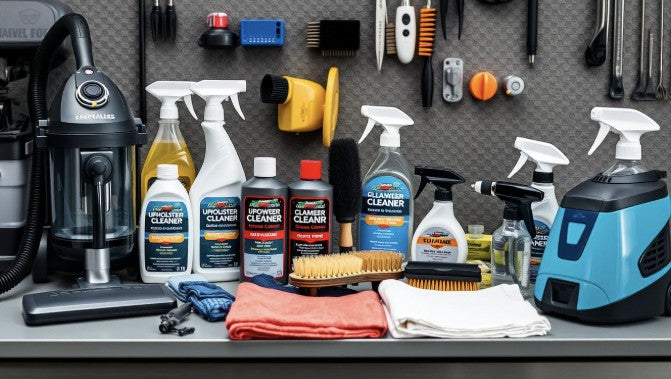
Before diving into the cleaning process, gather all necessary tools and products. Having everything prepared will make the job more efficient and effective.

Having all your supplies ready before starting makes the cleaning process more efficient
- Vacuum cleaner with upholstery attachments
- Microfiber towels (multiple)
- Soft-bristled upholstery brush
- Fabric upholstery cleaner (for cloth seats)
- Leather cleaner and conditioner (for leather seats)
- All-purpose cleaner (diluted appropriately)
- Spray bottles for solutions
- Bucket of warm water
- Steam cleaner (optional but recommended)
- Stain remover for tough spots
- Interior brush with stiff bristles
- Baking soda for odor elimination
Professional Results Require Professional Tools
For the best results when deep cleaning car seats, quality tools make all the difference. Our top recommendation is the McCulloch MC1275 Steam Cleaner, which provides professional-grade cleaning without harsh chemicals.
Preparation: Setting Up for Success
Proper preparation ensures you'll achieve the best results when deep cleaning car seats without causing damage to the upholstery.

Clear the Area
Remove all items from your car seats and floor. Take out car seat covers, children's seats, and any accessories that might interfere with cleaning. This gives you complete access to all surfaces.
Initial Vacuuming
Thoroughly vacuum the entire seat surface, paying special attention to seams, crevices, and between seat cushions. Use crevice tools and upholstery attachments to reach difficult areas. This removes loose dirt and debris that would otherwise turn to mud when wet.
Test Cleaning Products
Before applying any cleaner to your entire seat, test it on a small, inconspicuous area first. Wait 5-10 minutes to ensure there's no discoloration or damage to the fabric or leather. This step is crucial for preventing permanent damage to your upholstery.
Never use harsh chemicals like bleach or ammonia on car upholstery as they can cause discoloration and damage to the material. Always use cleaners specifically formulated for automotive interiors.
Deep Cleaning Fabric Car Seats
Fabric seats are common in many vehicles and require specific techniques to clean effectively without over-saturating the padding underneath.

Step 1: Apply Upholstery Cleaner
Spray a moderate amount of fabric upholstery cleaner onto the seat surface. Don't oversaturate the fabric—too much moisture can seep into the cushion and potentially cause mold or mildew. Work in sections of approximately 2 square feet at a time.
"When using a steamer plus microfiber, the steam helps enhance the cleaning agent and breaks up stubborn dirt without over-wetting the upholstery."
Professional Detailer
Step 2: Agitate with Brush
Using a soft-bristled upholstery brush, gently scrub the cleaner into the fabric using circular motions. This helps lift dirt from deep within the fibers without damaging them. Pay extra attention to visibly soiled areas and stains.
Step 3: Steam Cleaning (Optional but Recommended)
If you have access to a steam cleaner, this step can significantly improve your results. The steam helps break up stubborn dirt and sanitizes the fabric. Hold the steamer about 6 inches from the surface and slowly pass it over the seat, following immediately with a microfiber towel to absorb the loosened dirt and moisture.
Recommended Fabric Upholstery Cleaner
For outstanding results on fabric seats, we recommend Chemical Guys Fabric Clean. This specialized formula removes tough stains without leaving residue or damaging delicate upholstery fibers.
Step 4: Wipe and Extract
Use a clean, dry microfiber towel to wipe away the cleaning solution and lifted dirt. Press firmly to extract as much moisture as possible. For best results, use a blotting motion rather than wiping, which can push dirt back into the fabric.
Step 5: Treat Stubborn Stains
For persistent stains, apply a specialized stain remover directly to the affected area. Allow it to dwell for 3-5 minutes (check product instructions), then agitate with a brush and blot with a clean microfiber towel. Repeat if necessary.

Step 6: Final Drying
Allow seats to dry completely before using the vehicle. You can speed up this process by parking in direct sunlight with windows cracked, using fans, or a wet/dry vacuum to extract remaining moisture. Never use high heat like hair dryers, which can damage or shrink fabric.
Pros of Steam Cleaning
- Sanitizes and deodorizes naturally
- Uses minimal moisture
- Effectively breaks down stubborn stains
- No chemical residue left behind
Cons of Steam Cleaning
- Requires special equipment
- May not be effective on oil-based stains alone
- Can damage certain delicate fabrics if used incorrectly
- Longer drying time in humid conditions
Deep Cleaning Leather and Vinyl Seats
Leather and vinyl seats require different cleaning approaches than fabric to maintain their appearance and prevent damage.
Step 1: Vacuum Thoroughly
Just as with fabric seats, begin by vacuuming to remove all loose dirt and debris, especially from seams and crevices where abrasive particles can damage leather during cleaning.
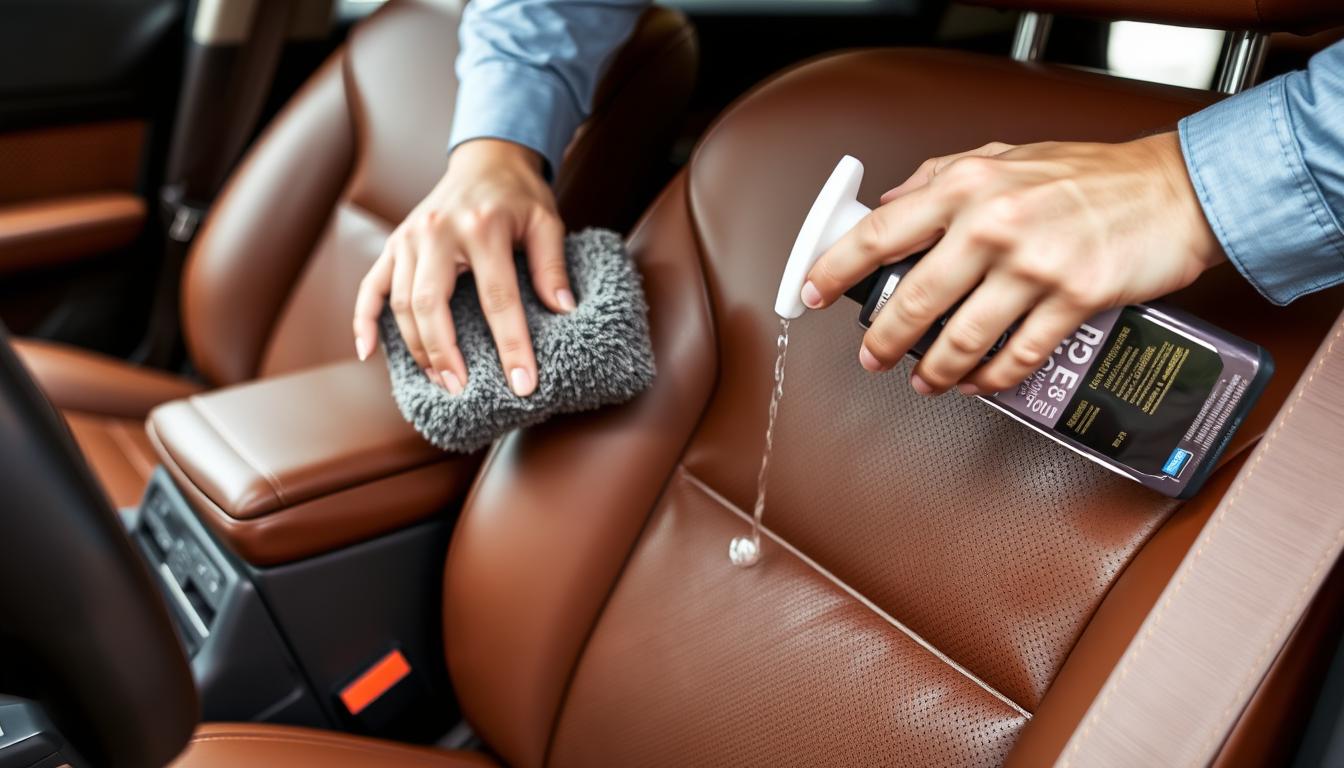
Step 2: Apply Leather Cleaner
Apply a small amount of leather cleaner to a microfiber applicator pad or cloth. Work in small sections, using gentle circular motions. Avoid soaking the leather, as excessive moisture can damage it.
Step 3: Clean Seams and Perforations
For seams and perforated areas, use a soft detailing brush to gently work the cleaner into these difficult-to-reach spots. Be careful not to scrub too aggressively, which could damage the stitching or leather surface.

Step 4: Wipe Clean
Using a clean, slightly damp microfiber towel, wipe away the cleaner and lifted dirt. Follow immediately with a dry microfiber towel to remove any remaining moisture.
Step 5: Condition the Leather
After cleaning and once the leather is completely dry, apply a quality leather conditioner to prevent cracking and maintain suppleness. Apply a small amount to an applicator pad and work it into the leather using circular motions. Allow it to absorb according to product instructions, then buff off any excess with a clean microfiber towel.
Premium Leather Care Kit
For professional results on leather seats, we recommend the Leather Honey Complete Leather Care Kit. This comprehensive set includes everything you need to clean, condition, and protect your leather upholstery.
Pro Tip: For vinyl seats, use products specifically formulated for vinyl. While leather cleaners may work, dedicated vinyl products will provide better results and longevity.
Tackling Tough Stains and Odors
Even with regular cleaning, car seats can develop stubborn stains and odors that require special treatment. Here's how to address common problems.

Before and after proper stain treatment on a fabric car seat
Common Stain Types and Solutions
|
Stain Type |
Recommended Treatment |
Application Method |
|
Food and Beverage |
Enzyme-based cleaner |
Spray, allow to dwell 5 minutes, agitate, blot |
|
Oil and Grease |
Citrus-based degreaser |
Apply with cloth, gentle agitation, wipe clean |
|
Ink |
Isopropyl alcohol (90%) |
Dab with cotton ball, do not rub, blot clean |
|
Blood |
Cold water + enzyme cleaner |
Blot with cold water first, then apply enzyme cleaner |
|
Pet Accidents |
Enzymatic pet stain remover |
Blot excess, spray liberally, allow to dry naturally |
Eliminating Odors
Persistent odors in car upholstery often penetrate deep into the padding beneath the surface. Here's how to eliminate them effectively:

Baking Soda Treatment: Sprinkle baking soda liberally over the seats. Allow it to sit for at least 6-8 hours (overnight is ideal) to absorb odors. Vacuum thoroughly afterward.
Enzymatic Cleaners: For organic odors (food, pets, body odors), use an enzymatic cleaner that breaks down the organic compounds causing the smell.
Steam Cleaning: The high temperature of steam kills odor-causing bacteria and helps release trapped odors from deep within the upholstery.
Fabric Refresher: After cleaning, apply a fabric refresher designed for automotive use to leave a pleasant scent.
Eliminate Stubborn Odors
For persistent odors that won't go away with standard cleaning, we recommend Zero Odor Pro. This professional-strength odor eliminator neutralizes odors at the molecular level rather than masking them.
Deep Cleaning Without an Extractor
While professional extractors are ideal for deep cleaning car seats, you can achieve excellent results without specialized equipment using these techniques.

Method 1: Steam + Microfiber Technique
This method uses steam to loosen dirt and microfiber towels to absorb it, mimicking the function of an extractor.
Vacuum thoroughly to remove loose debris
Spray upholstery cleaner lightly over a small section
Allow 2-3 minutes dwell time
Agitate with an upholstery brush
Apply steam directly to the area
Immediately press a clean microfiber towel firmly against the surface to absorb moisture and dirt
Use a "knuckle twist" motion with the towel to extract maximum moisture
Repeat for each section of the seat
The "knuckle twist" technique helps extract moisture and dirt effectively
Method 2: APC + Wet Vacuum Technique
This approach uses a standard wet/dry shop vacuum to extract moisture and dirt.
Vacuum the seats thoroughly
Dilute an all-purpose cleaner according to instructions
Apply to the upholstery using a spray bottle
Agitate with a brush to work the cleaner into the fabric
Let dwell for 3-5 minutes
Use a wet/dry vacuum with a narrow attachment (not the wide claw attachment) to extract the solution
Move slowly to ensure maximum extraction
Allow to dry completely
Pro Tip: When using a wet/dry vacuum for extraction, use the smallest attachment that will still cover the fabric. The narrower opening creates stronger suction and better extraction than wider attachments.
Maintaining Clean Car Seats
After investing time in deep cleaning your car seats, implement these maintenance practices to keep them looking fresh longer.

Regular Maintenance Schedule
|
Frequency |
Maintenance Task |
|
Weekly |
Quick vacuum of seats and crevices |
|
Monthly |
Spot cleaning of any new stains |
|
Quarterly |
Light cleaning with appropriate cleaner |
|
Bi-annually |
Deep cleaning process |
|
Annually |
Apply protectant (fabric) or conditioner (leather) |
Preventative Measures
Implement these strategies to minimize the need for frequent deep cleaning:
Apply Fabric Protectant: After deep cleaning fabric seats, apply a quality fabric protectant to repel spills and stains.
Use Seat Covers: Consider washable seat covers for vehicles frequently used by children or pets.
Address Spills Immediately: Keep a small cleaning kit in your vehicle to address spills before they set.
Limit Food and Drinks: Establish rules about eating and drinking in your vehicle to prevent stains.
Regular Vacuuming: Vacuum seats weekly to prevent dirt from becoming embedded in the fabric.
Protect Your Investment
After deep cleaning, protect your car seats with 303 Fabric Guard. This premium protectant creates an invisible barrier against spills and stains without changing the look, feel, or color of your upholstery.
Common Mistakes to Avoid
Even with the best intentions, these common mistakes can damage your car seats or deliver disappointing results.

Over-saturating fabric seats can lead to mold and mildew problems
Over-Wetting
Excessive moisture can seep into seat padding, creating a breeding ground for mold and mildew. It can also damage seat electronics in modern vehicles.
Solution: Use minimal moisture and focus on extraction. When in doubt, use less water and more agitation.
Using Incorrect Cleaners
Household cleaners like dish soap can leave residue that attracts more dirt. Harsh chemicals can damage upholstery fibers or leather finish.
Solution: Use cleaners specifically formulated for automotive upholstery and always test in an inconspicuous area first.
Scrubbing Too Aggressively
Harsh scrubbing can damage fabric fibers, leather finishes, or stitching, especially on older or delicate upholstery.
Solution: Use gentle circular motions and let the cleaner do most of the work. For stubborn stains, repeated gentle applications work better than aggressive scrubbing.
Skipping Vacuum Steps
Failing to vacuum thoroughly before and after cleaning can leave dirt particles that turn to mud or cause abrasion during cleaning.
Solution: Always vacuum thoroughly before applying any moisture, and vacuum again after seats are completely dry.
Important: Never use bleach, ammonia, or high-concentration alcohol on car upholstery. These can cause discoloration, fiber damage, and premature deterioration of your seats.
Professional Cleaning vs. DIY: When to Call the Experts
While many car seat cleaning tasks can be handled at home, some situations call for professional intervention.

When to DIY
Regular maintenance cleaning
Fresh, minor stains
General dirt and dust buildup
When you have appropriate tools and time
For synthetic or sturdy upholstery materials
When to Call Professionals
Extensive, set-in staining
Biohazard cleanup (blood, vomit, etc.)
Flood or water damage
Luxury or delicate upholstery materials
Persistent odor problems
Vintage or collectible vehicles
When seats have specialized electronics or heating elements
Cost-Benefit Analysis
Final Thoughts: Maintaining That Fresh-Cleaned Feel
Deep cleaning your car seats is an investment in both your vehicle's appearance and its value. With the right techniques and products, you can achieve professional-quality results at home and maintain that fresh, clean feeling between deep cleanings.

A properly deep cleaned interior not only looks great but also creates a healthier environment
Remember that consistency is key—regular maintenance cleaning prevents dirt buildup and makes deep cleaning sessions less intensive. By following the techniques outlined in this guide and investing in quality products, you'll extend the life of your upholstery and enjoy a cleaner, more pleasant driving experience.
Complete Your Detailing Arsenal
Ready to achieve professional results? The Chemical Guys Complete Detailing Kit includes everything you need for comprehensive interior and exterior cleaning, including specialized products for deep cleaning car seats.


Leave a comment
This site is protected by hCaptcha and the hCaptcha Privacy Policy and Terms of Service apply.