
Proper car seat installation is one of the most critical steps you can take to protect your child in a vehicle. According to safety experts, up to 59% of car seats are installed incorrectly, which can significantly reduce their effectiveness during a crash. This comprehensive guide will walk you through the correct installation process, helping you ensure your child's safety on every journey.
Need Expert Help With Your Car Seat?
While this guide provides detailed instructions, having your installation checked by a certified technician is the best way to ensure your child's safety. Find an Inspection Station Near You
Tools & Materials Needed
Before you begin the installation process, gather these essential items to ensure a smooth and successful car seat installation:
Essential items for proper car seat installation
- Your car seat (with all parts and components)
- Car seat instruction manual
- Vehicle owner's manual
- Level indicator (often built into the car seat)
- Locking clip (if needed for your vehicle's seat belts)
- Pool noodle or tightly rolled towel (may be needed to achieve proper recline angle)
- Seat belt extender (if recommended by your vehicle manufacturer)
- Anti-slip mat (optional, for added stability)
Step-by-Step Installation Instructions
Always start by reading both manuals thoroughly
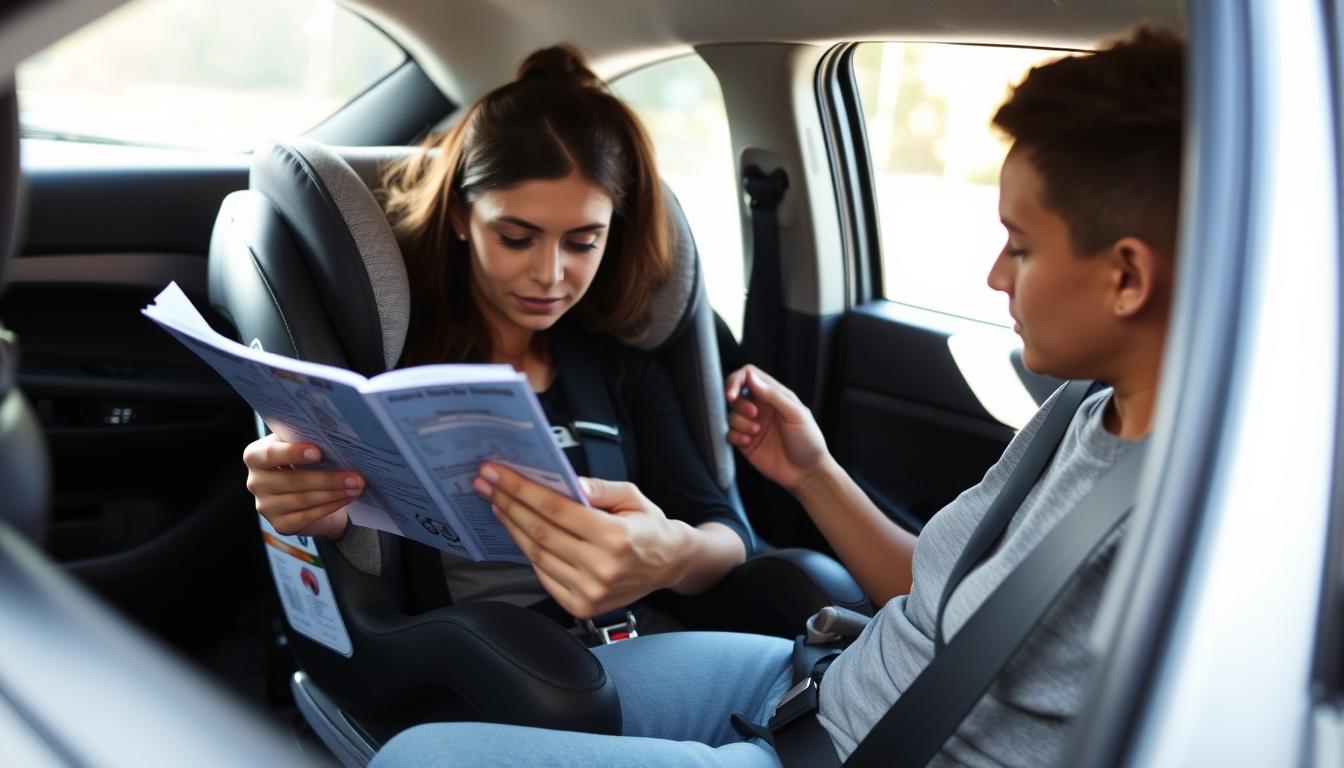
Step 1: Read the Manuals
Before attempting installation, thoroughly read both your car seat manual and vehicle owner's manual. These documents contain critical information specific to your equipment.
- Look for the car seat installation section in your vehicle manual
- Note any specific requirements or recommendations from the manufacturer
- Identify which seating positions in your vehicle allow for car seat installation
- Check if your vehicle has lower anchors and tethers for children (LATCH) system
- Understand weight limits for both your car seat and vehicle anchors
Safety Tip: Never skip reading the manuals. Each car seat and vehicle combination has unique requirements that may not be covered in general guides.
Step 2: Choose the Correct Seating Position
The back seat is the safest place for children under 13 years old. When selecting the specific position, consider these factors:
Recommended car seat positions in a typical vehicle
Best Positions (in order):
-
Center of back seat (if it can be properly installed there)
-
Rear passenger side (allows for safer curbside loading/unloading)
-
Rear driver side
Avoid:
-
Front passenger seat (especially with active airbags)
-
Any position where proper installation isn't possible
-
Positions that make it difficult to get the child in and out
Warning: Never place a rear-facing car seat in front of an active airbag. If you must use the front seat for a forward-facing car seat, move the vehicle seat as far back as possible.
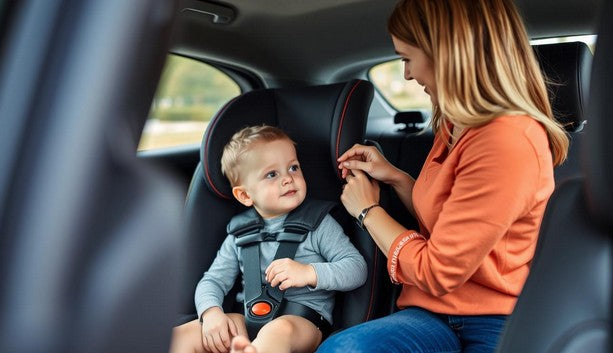
Step 3: Secure the Car Seat
You have two options for securing the car seat: the LATCH system or the vehicle's seat belt. Both are equally safe when installed correctly, but you should never use both simultaneously.
LATCH system (left) vs. seat belt installation (right)
Option A: LATCH System Installation
-
Locate the lower anchors in your vehicle's seat (usually in the crease between the seat back and cushion)
-
Attach the lower anchor connectors from your car seat to the vehicle's lower anchors
-
Press down firmly on the car seat while tightening the LATCH straps
-
For forward-facing seats, also connect the top tether to the designated tether anchor
Option B: Seat Belt Installation
-
Thread the vehicle seat belt through the correct belt path on the car seat (marked on the seat)
-
Buckle the seat belt
-
Lock the seat belt according to your vehicle's instructions (typically by pulling it all the way out and then letting it retract)
-
Press down firmly on the car seat while tightening the seat belt
-
For forward-facing seats, also connect the top tether to the designated tether anchor
Important: LATCH systems have weight limits (typically when child + car seat weight reaches 65 pounds). Check your car seat manual for specific limits. Switch to seat belt installation when your child exceeds this limit.
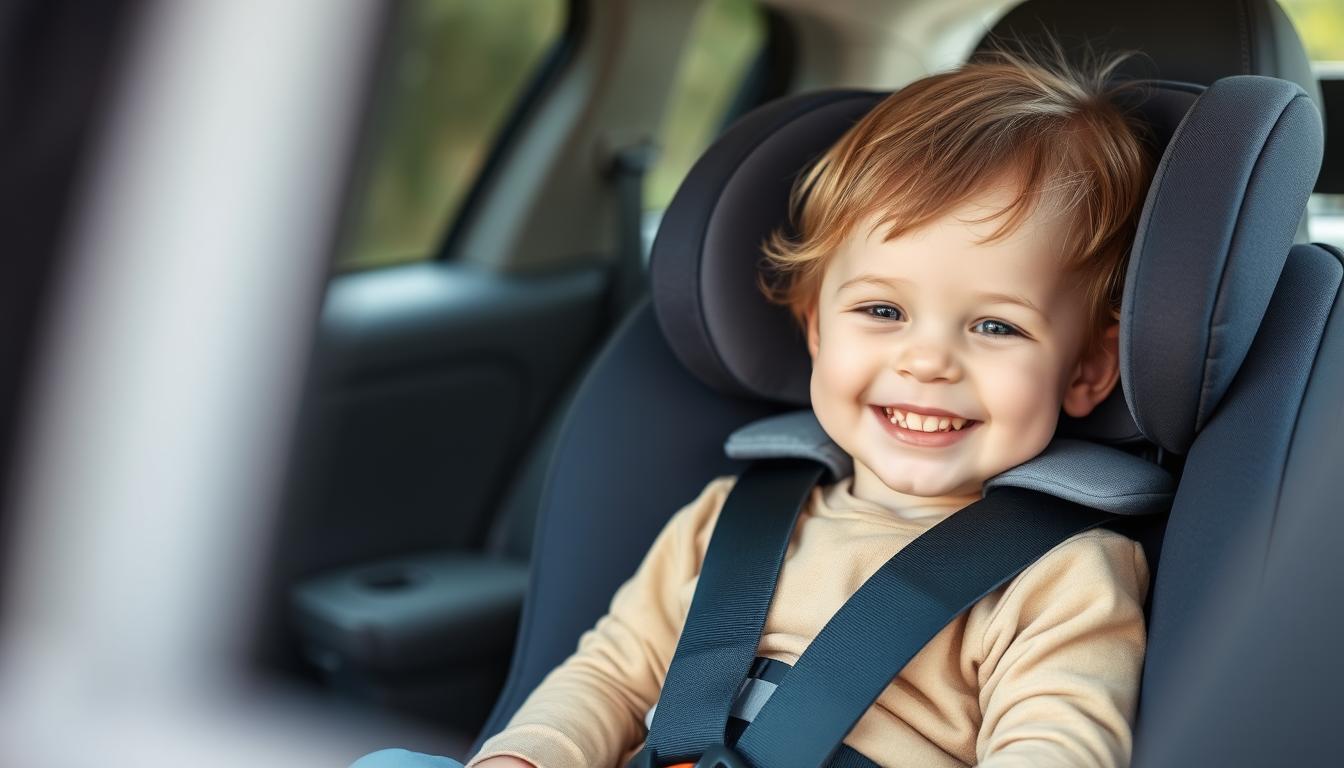
Step 4: Adjust the Recline Angle and Harness
Proper recline angle is crucial, especially for rear-facing seats to keep your baby's airway open and provide optimal protection.
Use the built-in level indicator to verify proper recline angle
- For rear-facing seats: Follow the recline indicator on your car seat. You may need to use a rolled towel or pool noodle under the base to achieve the correct angle.
- For forward-facing seats: Follow manufacturer's instructions for the appropriate recline position.
- Adjust the harness straps to be at or below shoulder level for rear-facing seats.
- Adjust the harness straps to be at or above shoulder level for forward-facing seats.
- Position the chest clip at armpit level.
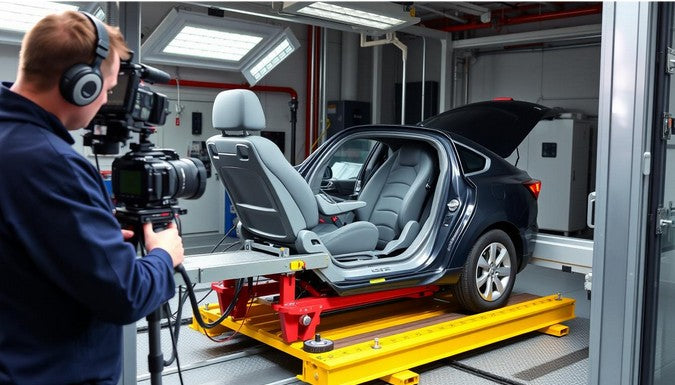
Step 5: Double-Check Installation with the "Inch Test"
After installation, verify that the car seat is secure by performing the "inch test."

Grip the car seat at the belt path and try to move it side-to-side and front-to-back
-
Grasp the car seat at the belt path (where the LATCH strap or seat belt passes through the car seat)
-
Try to move the seat side-to-side and front-to-back
-
A properly installed seat should not move more than one inch in any direction
-
If there's too much movement, reinstall the seat, applying more pressure when tightening
Still Not Sure About Your Installation?
Even after following these steps, having a professional check your work provides peace of mind.
Common Installation Mistakes to Avoid
Avoid these common installation errors to ensure maximum safety
-
Common Mistakes
Installing the seat too loosely (fails the "inch test") - Using both LATCH and seat belt simultaneously
- Incorrect harness height positioning
- Chest clip positioned too low or too high
- Harness straps too loose or twisted
- Not using the top tether for forward-facing seats
- Incorrect recline angle, especially for infants
- Using expired or damaged car seats
- Moving to the next seat type too early
"The most common mistake we see is parents rushing to move their child to the next stage too soon. Keep your child in their current seat until they reach the maximum height or weight limit."
— Certified Child Passenger Safety Technician
Specific Installation Instructions by Car Seat Type
Rear-Facing Infant Seats
- Install at a 30-45 degree angle (check level indicator)
- Ensure the base doesn't move more than 1 inch
- Check that carrier clicks securely into base
- Harness straps at or below shoulders
Convertible Seats
- Follow recline indicators for rear or forward-facing
- Use top tether for all forward-facing installations
- Check weight limits for LATCH vs. seat belt use
- Adjust harness position based on direction
Booster Seats
- Seat belt must cross child's shoulder (not neck)
- Lap belt must lie across upper thighs (not stomach)
- High-back boosters provide head/neck support
- Backless boosters require vehicle headrests
Need Visual Guidance?
Watch step-by-step installation videos for your specific car seat model.
Frequently Asked Questions
How often should I check my car seat installation?
Check your car seat installation monthly and before any long trips. Also recheck after anyone else has used your vehicle or if the car seat has been removed and reinstalled. Regular checks ensure the seat hasn't loosened over time.
Can I reuse a car seat after an accident?
NHTSA recommends replacing car seats after moderate or severe crashes. For minor crashes, a car seat might still be usable if ALL of these conditions are met:
- The vehicle could be driven away from the crash
- The door nearest the car seat was undamaged
- No passengers were injured
- No airbags deployed
- There is no visible damage to the car seat
When in doubt, replace the seat. Many insurance policies cover replacement costs.
What's the difference between LATCH and seat belt installation?
Both methods are equally safe when installed correctly. LATCH (Lower Anchors and Tethers for Children) was designed to make installation easier. However, LATCH has weight limits (typically when child + car seat weight reaches 65 pounds). Seat belt installation has no weight limits when used correctly. Never use both systems simultaneously.
How do I know if my car seat is installed tightly enough?
Use the "inch test" - grab the car seat at the belt path (where LATCH or seat belt goes through) and try to move it side-to-side and front-to-back. A properly installed seat should not move more than one inch in any direction.
Can I use a second-hand car seat?
Only use a second-hand car seat if you:
- Know its complete history (no accidents)
- Have all original parts and instructions
- Verify it hasn't been recalled
- Confirm it hasn't expired (typically 6-10 years from manufacture date)
- Check that all labels are present and readable
When in doubt, it's safest to purchase a new seat.

A certified technician can answer questions specific to your car seat and vehicle
Ensuring Your Child's Safety
Proper car seat installation is a crucial step in protecting your child while traveling. While this guide provides comprehensive instructions, remember that each car seat and vehicle combination is unique. The safest approach is to follow manufacturer instructions and have your installation verified by a certified Child Passenger Safety Technician.
"The best car seat is the one that fits your child, fits your vehicle correctly, and that you will use correctly every time."
Regular checks and adjustments as your child grows will ensure continued protection. Take the time to master proper installation—it's one of the most important safety measures you can take for your child.
Your Child's Safety Is Worth Expert Verification
Even experienced parents benefit from professional inspection. Most inspection stations offer this service for free.
A properly installed car seat gives both you and your child peace of mind
Leave a comment
This site is protected by hCaptcha and the hCaptcha Privacy Policy and Terms of Service apply.